Upload Documents and Conditional Evidence
This guide is for all students to learn how to navigate to their My Details page to view and complete their pre-placement requirements including uploading compliance documents.
If you been asked to upload documents to your Placement, please refer to the guide: View Placement Details and Add Documents.
About My Details
My Details is the central information hub for your personal details associated with your UniSA student record. If you need to change any personal information visible in InPlace, please so via your myEnrolment or myUniSA portal.
The My Details page is also where you submit and manage pre-placement requirements such as a Working with Children Check and National Police Clearance. It may also be where you submit special consideration requests or placement related information/preferences.
InPlace staff users must adhere to UniSA's privacy policy.

Where to Find My Details
- Login to InPlace: from the InPlace URL. See the Login Guide.
- Click on your name in the top right of the menu bar.
- From the drop down menu select My Details.
Find your Requirements in My Details
In the My Details tab, you will need to scroll down to view your requirements. Read carefully to select the correct section. It is important to check the requirements relating to your upcoming placement. There might be several sets of requirements if you are or have been enrolled in multiple programs.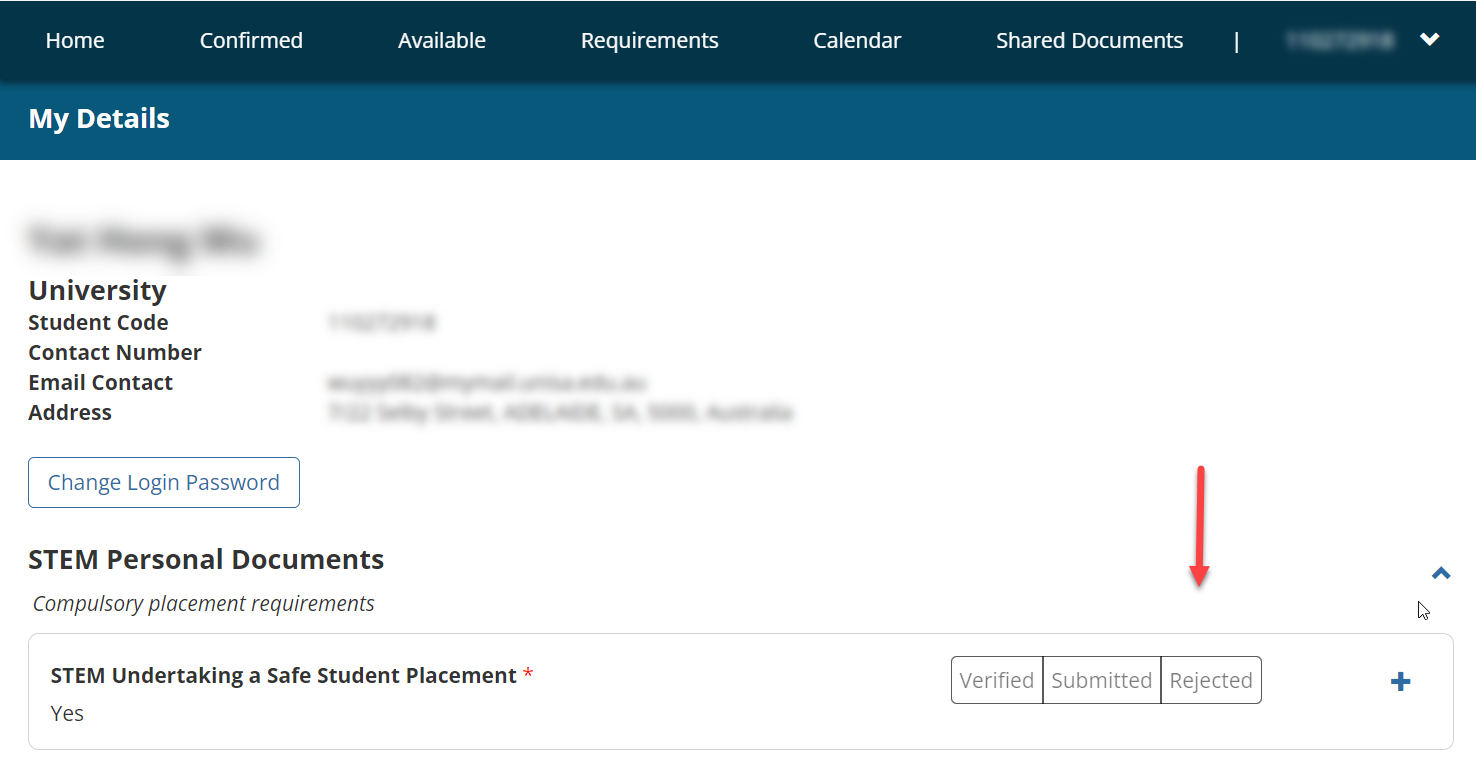
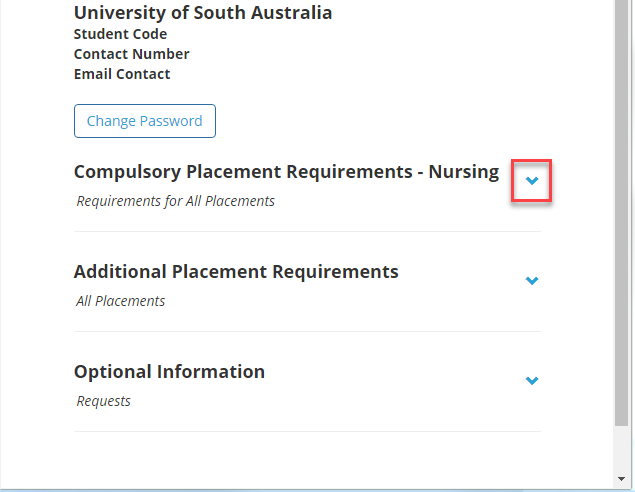
Open a Requirements Section
- Scroll down below your profile details in the My Details tab
- Click the blue > expand arrow to view under each requirement.
- View the document(s) you will need to upload for that requirement.
Upload a Document to a Requirement

- Click the blue + plus icon to launch the document submission box panel. Once expanded it will display as a minus sign -.
- Follow the prompts to fill out all the complete all the fields.
- Click on the Attachments field to launch your file manager or simply drag and drop a file.
- Click Submit.
- View and click X on the green successfully saved pop up.

File Format Tips:
- If you have a multipage file, copy it into a document or save as a single file. Only one document can be uploaded for each requirement.
- There is a file size limit of 5MB. If you have larger files save it as a PDF before uploading.
- You can check if a file has been submitted in your My Details. More details below the details about fields.
Guide to the Document Submission Fields
Carefully select the correct document submission box as each requirement has custom fields. Some documents require you to copy dates and reference numbers from on the documents.
Follow the instructions from your academic unit on which fields are required.
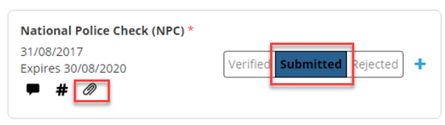
Check if a Document has Been Uploaded
You can check if a document has been uploaded by viewing the status is Submitted or if there is a paperclip symbol.
Note: The status bar is a display, you can not click it.
Check if a Document is Verified
- Allow at least two business days for your documents to be reviewed by the University.
- Login to InPlace: from the InPlace URL. See the Login Guide.
- Check the Notifications on the Home Page and follow the link OR/Open My Details and scroll down to the Document Summary
- View the status bar.
- Click to expand to view any comments.
How Do I Resubmit if a Document is Rejected?
- Allow at least two business days for your documents to be reviewed by the University.
- Login to InPlace: from the InPlace URL. See the Login Guide.
- Check the Notifications on the Home Page, read the Feedback and follow the link
- Follow the Link from the Notifications on your home page or go directly to My Details and scroll down to the Document Summary
- View the Document Status as Verified, Submitted or Rejected.
- Click the + plus icon and resubmit

If you have questions, contact the Work Integrated Learning team for your Academic Unit.
More About Symbols in the Document Summary
The reason you copy reference numbers and expiry dates from your documents is so they can display on the summary page.
- The # hash symbol will display if a Reference number has been entered.
- Where relevant an expiry date will be listed.
- You have access to download these files by clicking the Paperclip icon.
What if There Isn't a Place to Upload for a Requirement?
Some conditional evidence requirements are read-only. This means that you cannot upload a document or make changes to a requirement.
Please Note: you will need to keep your own copies of your documents.