How do I map a network drive on Windows 10?
NOTE: If you are on a personally owned device you will need to have setup and connected to the UniSA VPN prior to following the below.
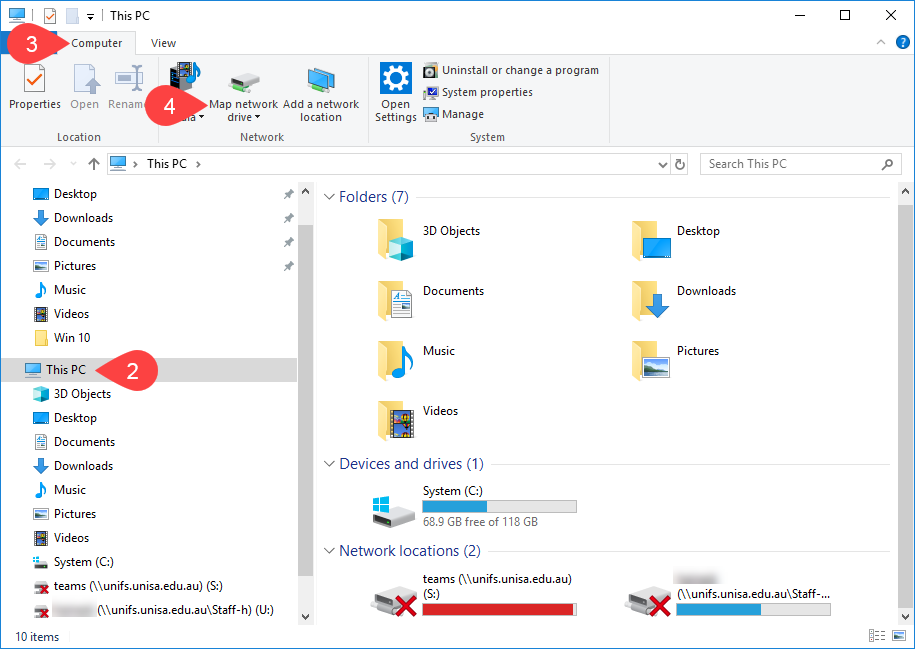
- Open File Explorer

- Make sure you are viewing This PC
NOTE: If on a UniSA owned device This PC has been renamed to <your username> on <blue plate #>
- Click Computer tab
- Click Map network drive
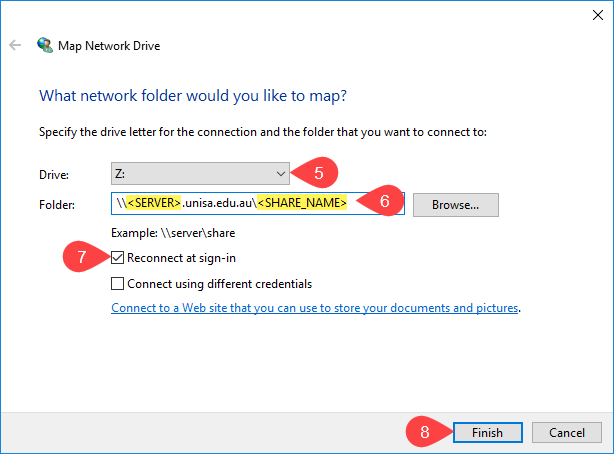
- Choose Drive letter
NOTE: The letter selected is only a reference point and can be different on each machine you map the drive.
- Enter Folder path as required:
| UDFS |
\\udfs.unisa.edu.au\<SHARE_NAME>
|
| RSFS User Share |
\\staff.rsfs.unisa.edu.au\Staff-<USER_LETTER>\<USERNAME> |
| RSFS Group Share |
\\groups.rsfs.unisa.edu.au\$\<GROUP_NAME> |
a. <USER_LETTER> denotes the first letter of your username, e.g., if your username is “smithj”, the <USER_LETTER> would represent the letter “s”.
b. <USERNAME> denotes your username, e.g., if your username is “smithj”, <USERNAME> would represent “smithj”.
c. <GROUP_NAME> denotes the research group name, e.g., if the research group is “MyResearchProject”, <GROUP_NAME> would represent “MyResearchProject”. Please note there is a $ before the <groupname>, e.g. the full path would be “\\groups.rsfs.unisa.edu.au\$\MyResearchProject".
- Ensure Reconnect on logon is ticked
NOTE: You will also have to tick Connect using different credentials and when prompted (after clicking Finish):
- User name = uninet\<unisa username>
- Password = <unisa password>
- Click Finish
- When successfully mapped, the shared folder will open in a new window.
Further Assistance
If you require further information or assistance, please contact the IT Help Desk on (08) 830 25000 or 1300 558 654.