For all information related to the new Adelaide University — including study applications for 2026, details for commencing and current students, and Graduate Research — please visit adelaideuni.edu.au.

If you are not comfortable using the Green Screen Studios unassisted, please contact the Media Team. We will schedule a one-on-one training session to familiarise you with the room's operation.
1. Press the Touch Panel and turn the system on.
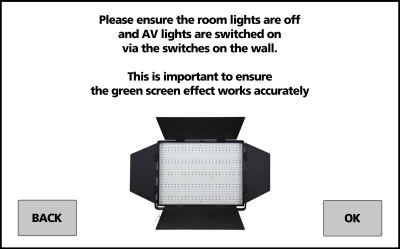
2. Next, you'll be prompted to turn on the AV lights. These can be found on the wall and will be labelled. Make sure to also turn off the room lights before recording.
3. Select the background you want to use:
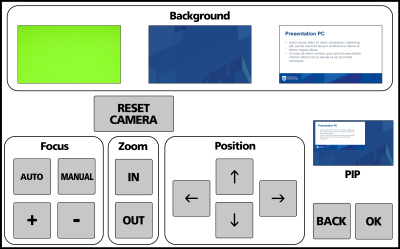
4. Adjust the camera controls at the bottom. Make sure to position yourself by standing on the tape in the middle of the room and adjusting the camera accordingly.
Press OK

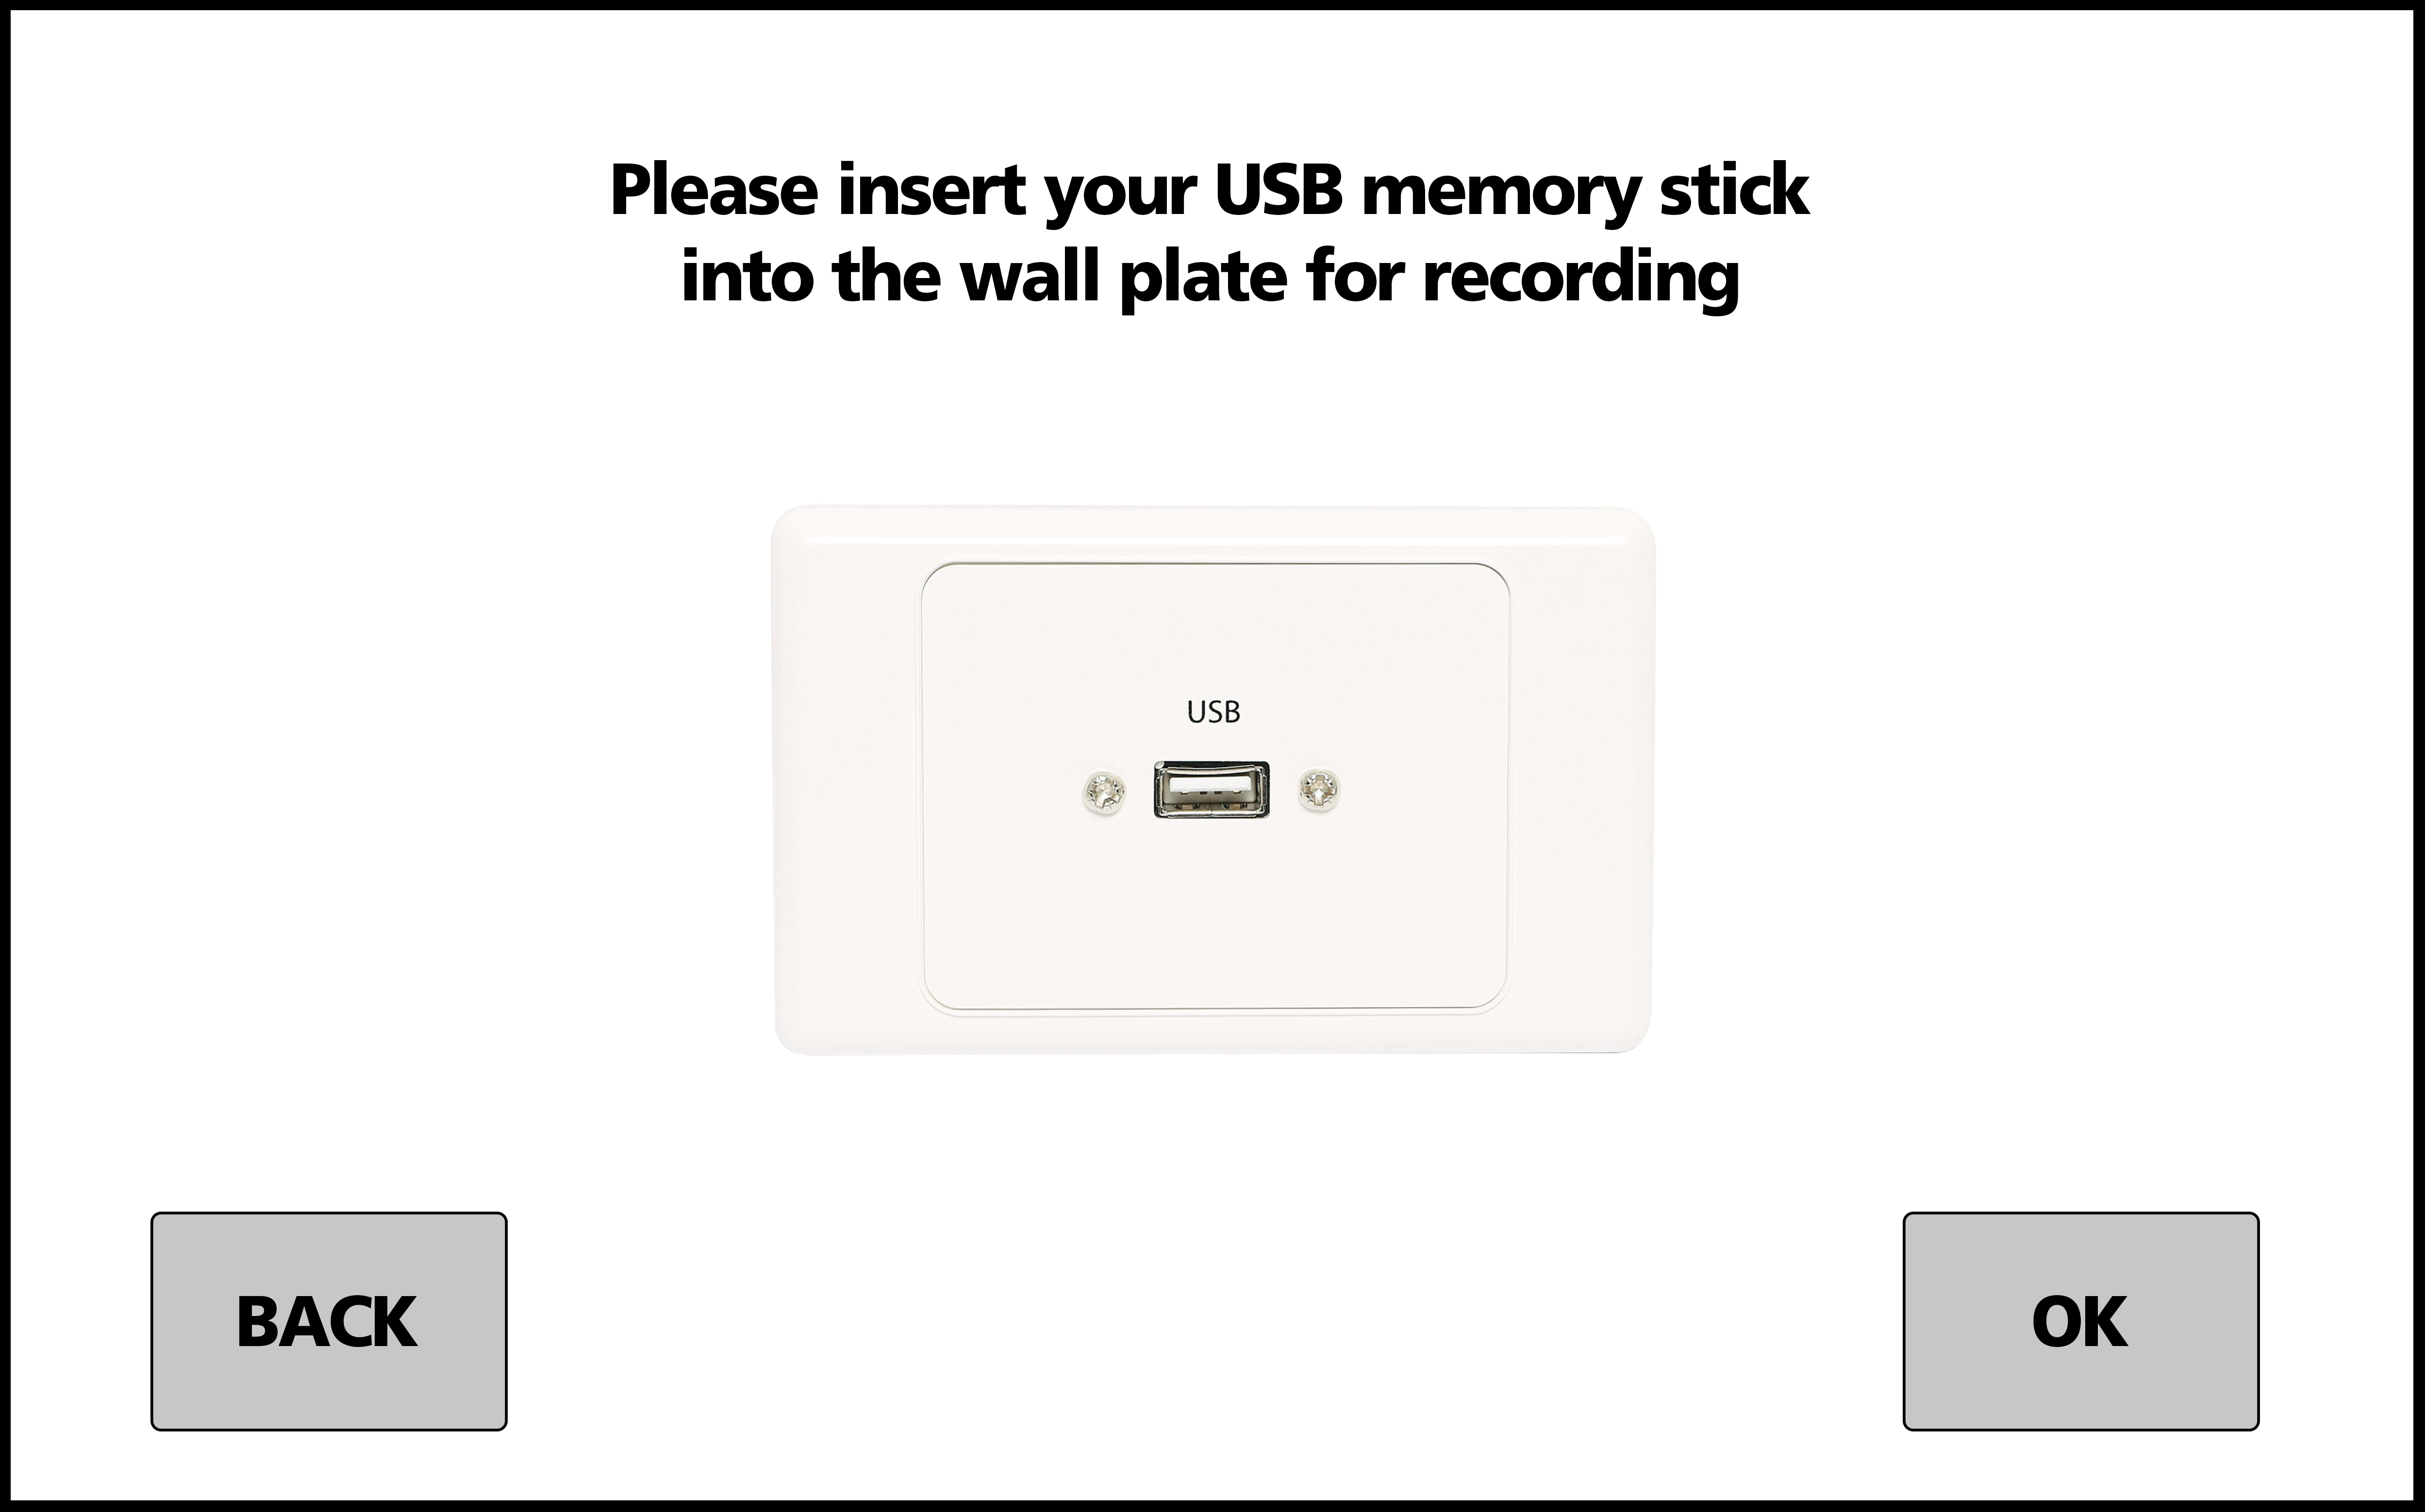
5. Plug in your USB device. This needs to be at least a USB 3.0 formatted as ExFAT - follow the 'How to format a USB drive for studio recording' guide.
If you're recording to Panopto, you can ignore this step - follow the 'How to record into Panopto' guide instead.
Press OK
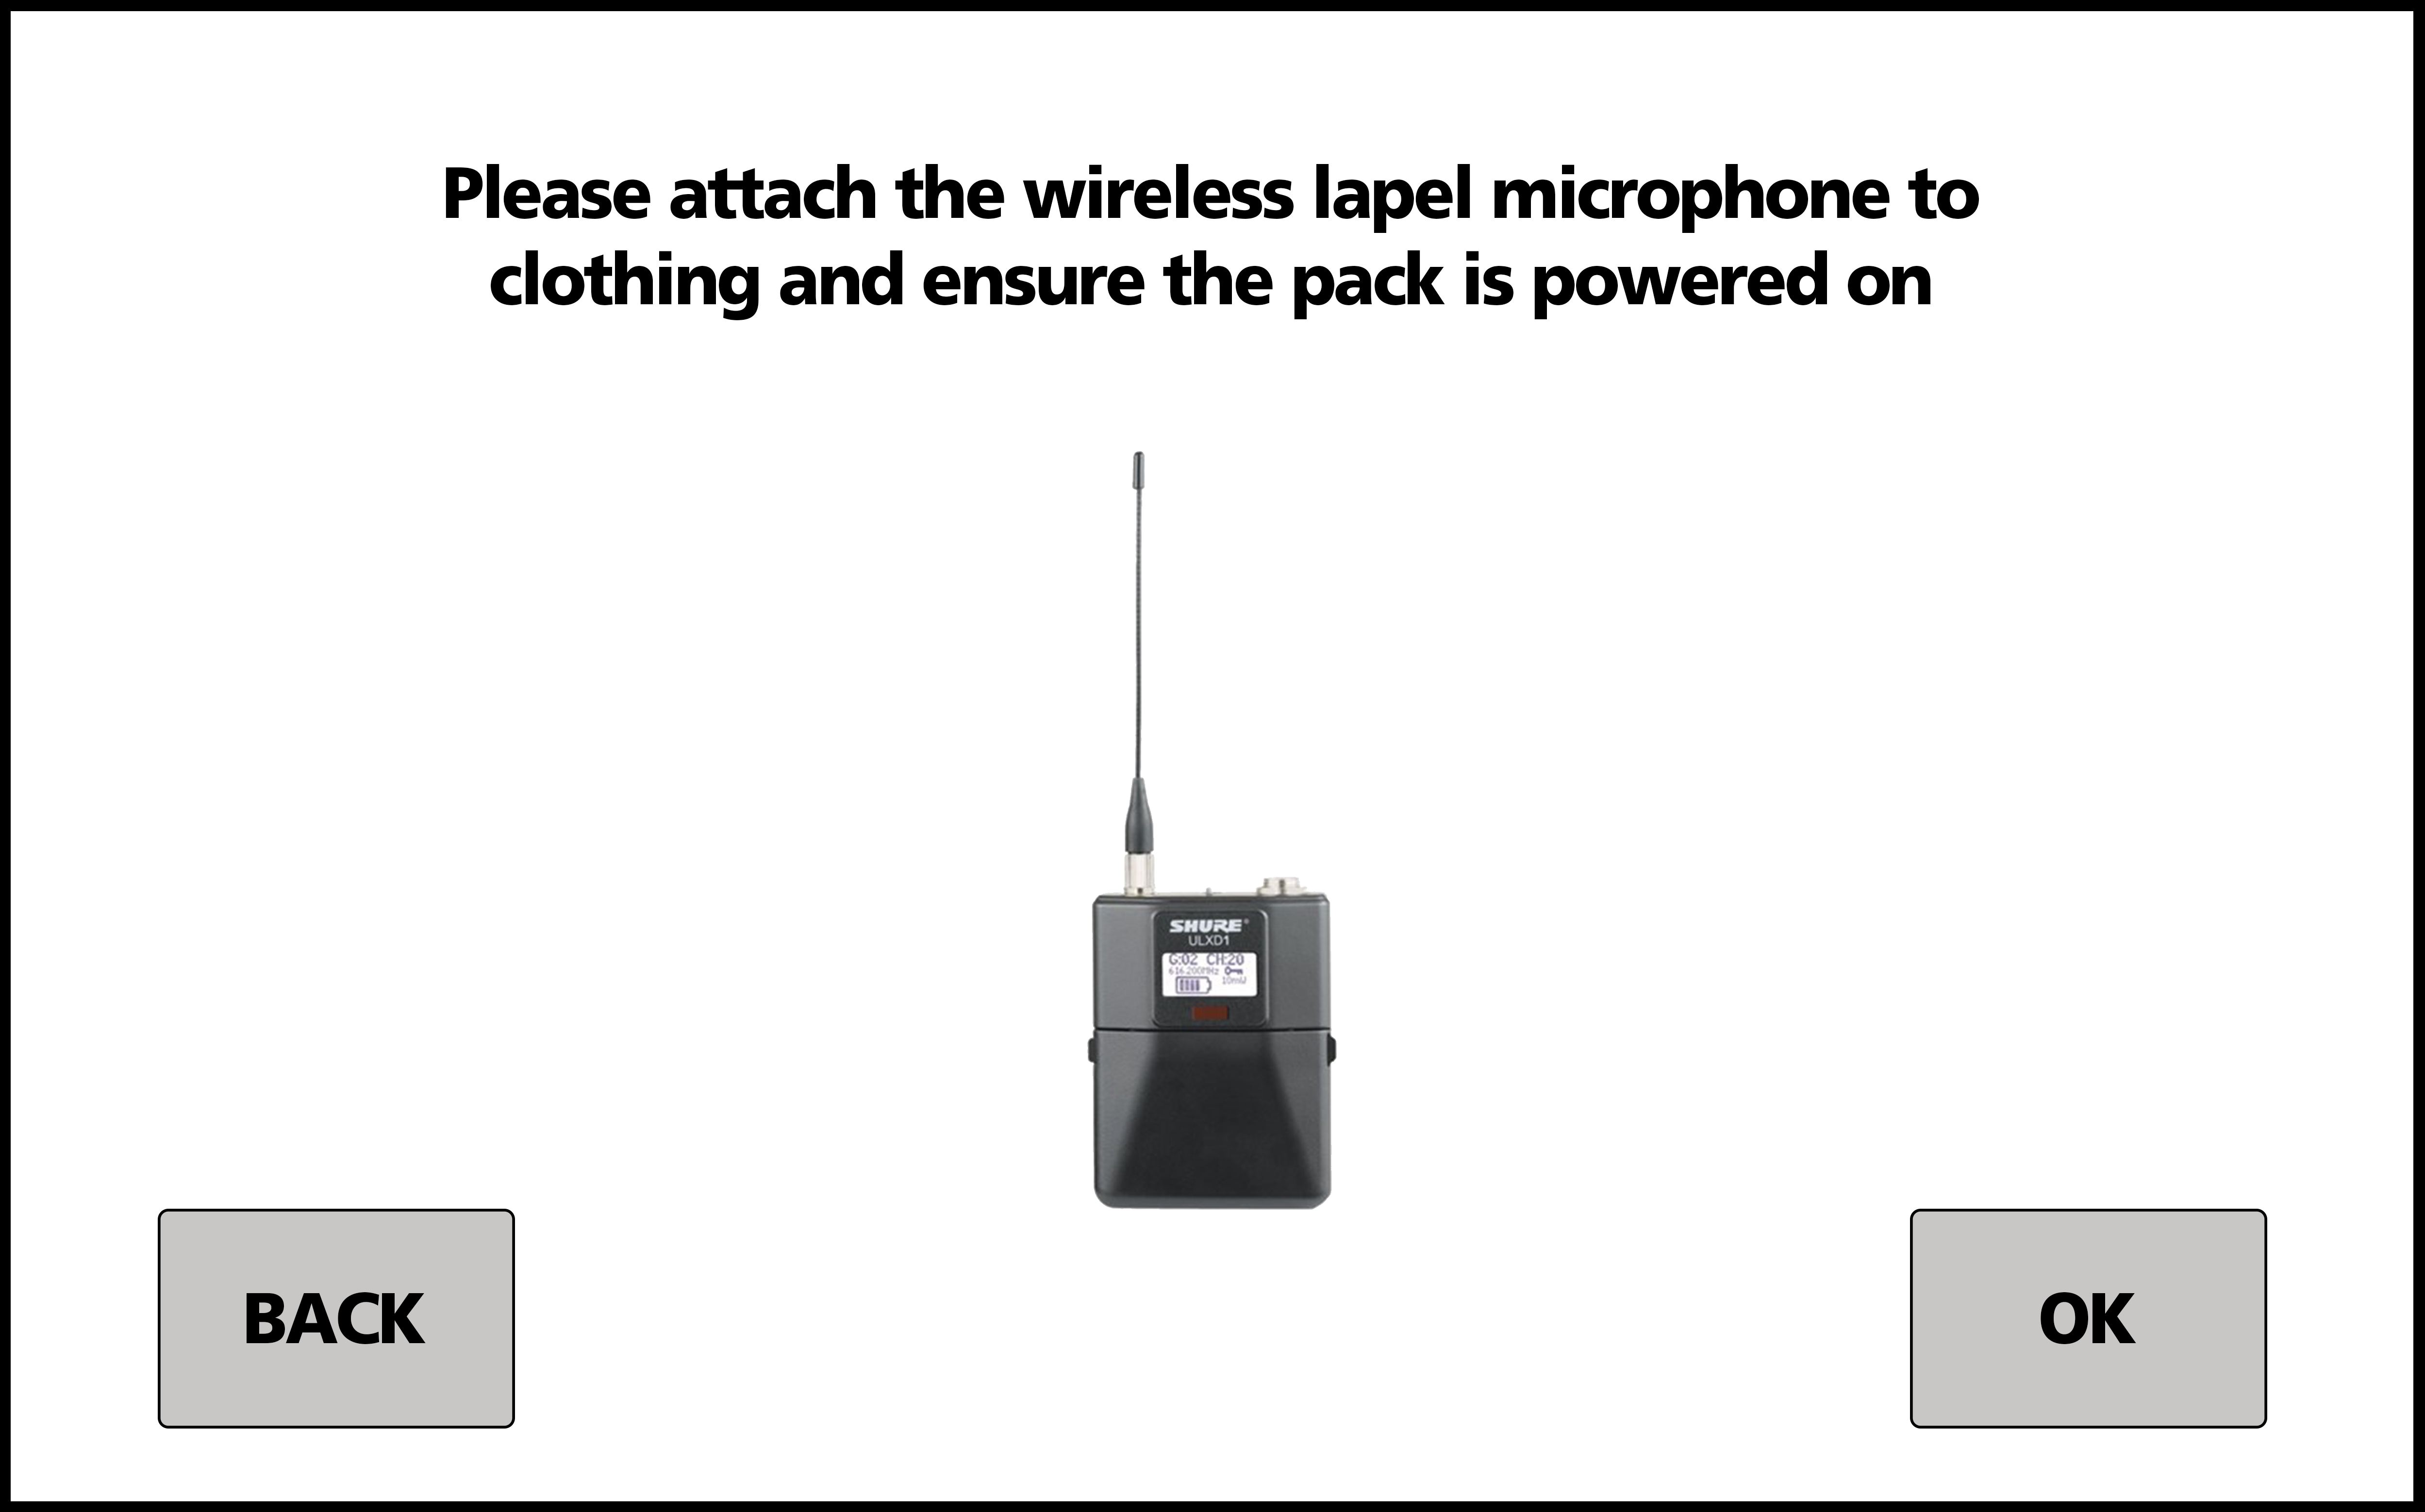
6. Attach a microphone to the centre of your shirt in the middle of your chest. If you're wearing a high collar, position the mic to the side. The microphone clip rotates to make sure it is pointed towards your mouth.
Press OK