How do I add an Office Printer on a macOS?

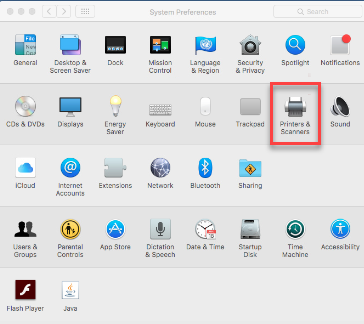
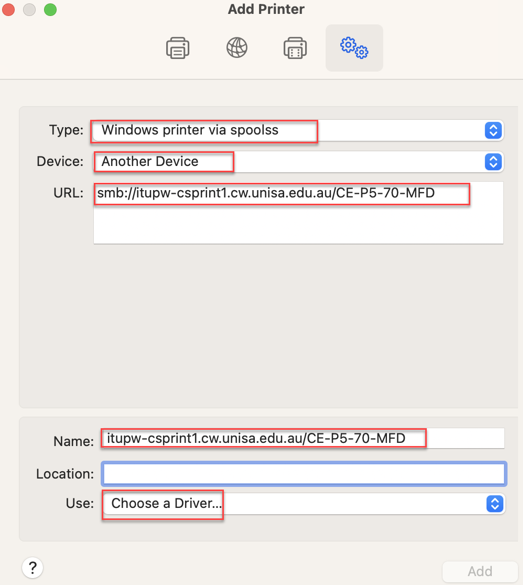
NOTE: This process should be used to add a named office printer, where Follow-You-Q is not available.

  1. Open System Preferences
  2. Select Printers and Scanners
    select Printers & Scanners
  3. Select + to add printer
    select + to add a printer
  4. Select Advanced Option
    select Advanced Option

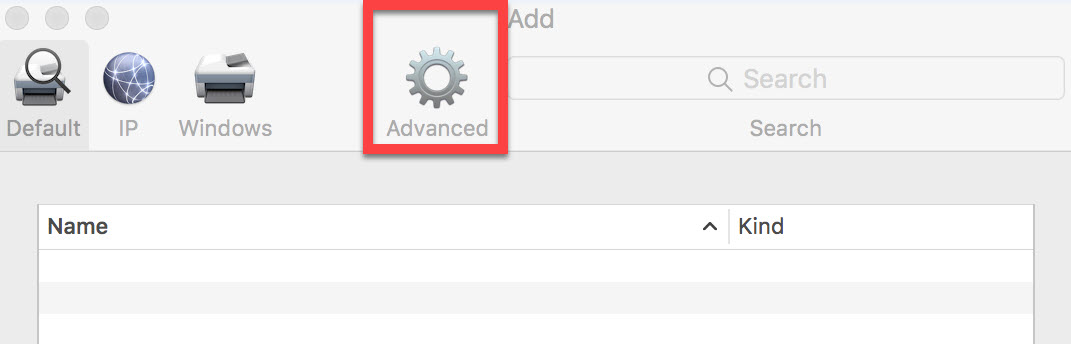
    NOTE: If Advanced option is not available then follow steps below otherwise skip to step 5.

    1. Right Click on the empty grey area and Select Customize Toolbar.
      customise toolbar

    2. Drag the Advanced Icon into the Menu Bar and click Done
      drag and drop Advanced icon

  5. Enter the Print Server and the Printer Name
    NOTE: All new printers installed across the University will use a common naming conventions in the format: <CAMPUS>-<BUILDING><LEVEL>-<ROOM>-<PRINTER TYPE>. Printer naming convention for all other UniSA Staff <ORG2>-<CAMPUS>-<TYPE>-<BUILDING><LEVEL>-<ROOM>
    EXAMPLE: - For City Campuses  "smb://itupw-csprint1.cw.unisa.edu.au/CE-P5-70-MFD" and for All other Campuses - "smb://itupw-csprint2.ml.unisa.edu.au/ML-P1-22-MFD"
  6. Give it a name or leave as default
  7. Click the down arrow on Use and choose Select Software
    Select Software
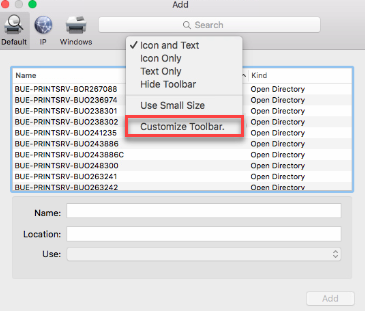
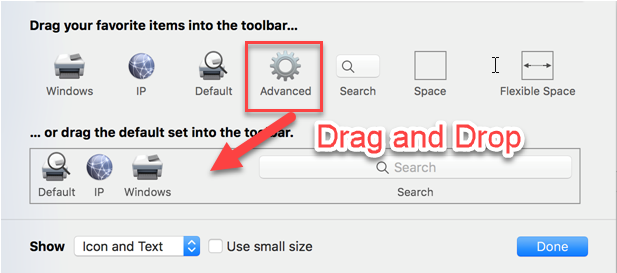
    Select the relevant driver
    EXAMPLE: FX ApeosPort-IV C5575 v3018.103 PS
    select the relevant driver
    NOTE: If the above driver is not present then it will have to be downloaded from Fuji Film drivers page.
  8. Click OK followed by Add and OK
  9. Remember to use UniSA computer login credentials while authenticating the print.
    NOTE:
    You can choose "Remember this password in my keychain" option to remember your UniSA credentials for future use.
    authenticate

Further Assistance

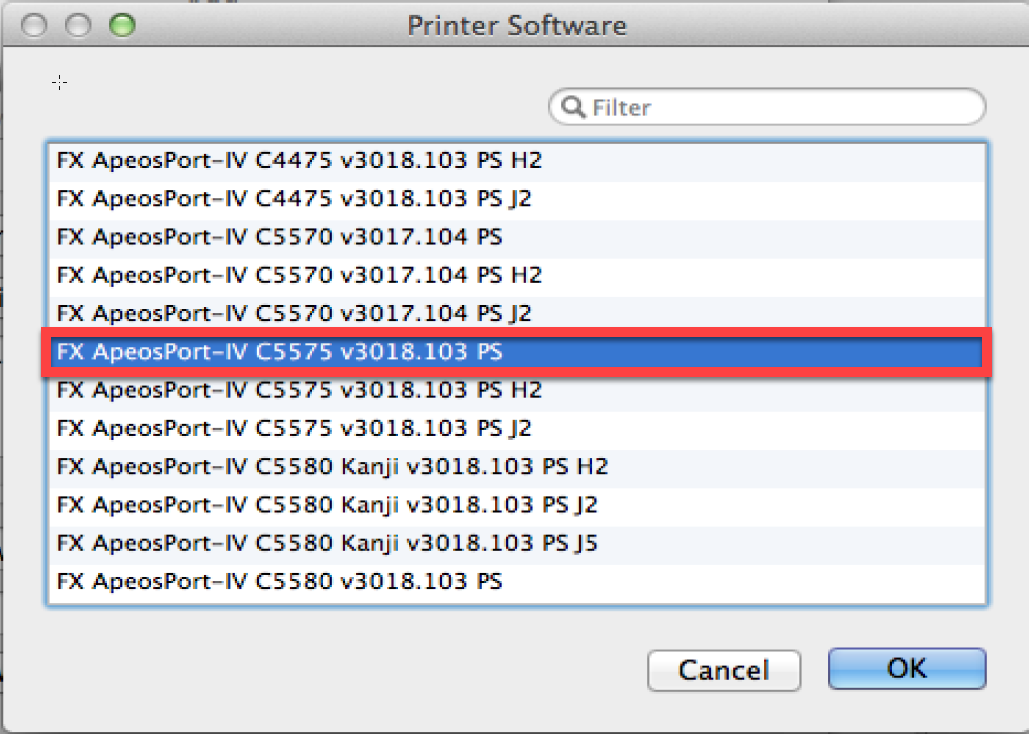
If you require further information or assistance, please contact the IT Help Desk on (08) 830 25000 or 1300 558 654.