ISTS will be pushing Webex out to Blue Plated PCs via the Software Center and will automatically install. Your device will advise once installed and will prompt you to restart after the installation is complete.
Otherwise, users can install prior to this by using the Software Center guide.
ISTS will be pushing Webex out to Blue Plated Macs via MDM solution on managed Macs.
If Webex is not installed automatically you can install it from the Managed Software Centre.
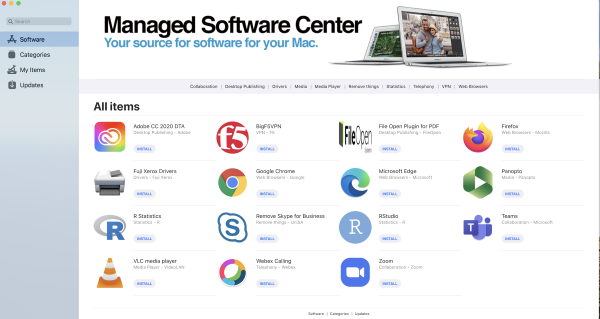
If you do not have the “Managed Software Center” installed on your Mac please log a call with IT helpdesk to request it be installed.
For non-Blue Plated macs you can download and install directly from Webex
The software can be downloaded and installed directly onto your device through the Webex site.
NOTE: When making a 'Webex Call' from Microsoft Teams it will launch Cisco Webex.
Or for step by step instructions (including screenshots) see launching through MS Teams for the first time page.
NOTE: The software deployed via SCCM will be configured to launch Webex at login.
Or for step by step instructions (including screen-shots) see launching Webex for the first time page.
If you are accessing your voicemail for the first time, or have forgotten or misplaced your voicemail PIN, you can easily set or reset it via settings.webex.com.
Once you have successfully accessed your voicemail box, you may change your PIN anytime by following the voicemail menu options or via settings.webex.com.
Webex can be installed on a mobile device by using one of the below options.
To use Webex on your mobile, scan the code with your phone camera or code scanner and download the app:

Note:
Make sure you enable/allow notifications during install, otherwise you will not be able to receive calls.
If you encounter this issue, you should delete the app and redownload, ensuring notifications are enabled during install/setup.
![]()
Note: On mobile devices, you may get a prompt at the first launch about emergency calling. You can acknowledge the prompt as user primary location is recorded in the telephony system. If you change your primary campus location please advise the IT Helpdesk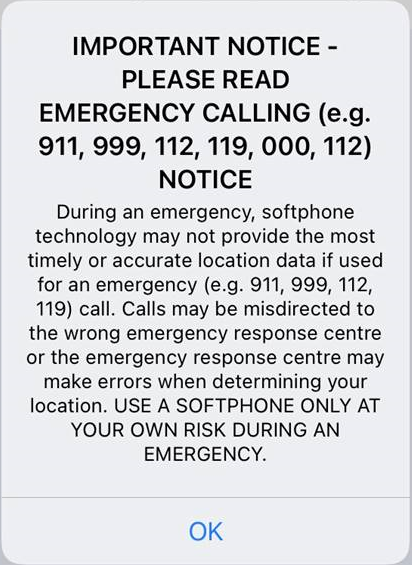
Please complete the TWR form.
If a new physical telephone (with extension) or just an extension number is required please see the Telephone Work Request page.
NOTE: Telephone Work Requests (TWR) can be more complicated than they first seem as contractors or Network Services may need to install extra network hardware to complete your request. Please allow ample time for the completion of TWRs.